

How To Add A Live Video Feed From Raspberry Pi Camera To Your Website
Live streaming video cameras tin exist used for security or personal purposes. A variety of webcams, camcorders, DSLRs and mirrorless cameras for streaming alive video are bachelor in the market. You want to own one likewise but can't afford information technology! Don't worry, we will aid you lot build one yourself at less than Rs. 2000.
Today, in this DIY project, we are going to make a live streaming camera that can  be accessed over Wi-Fi. The best part of this project is that you tin view the video live streaming on multiple devices similar figurer, tablet and phones. You can too move its camera lens wirelessly for wide-angel views. Another interesting thing is that you can gear up this photographic camera in a motion detection mode to enable it to take picture or tape video when motion is detected. Withal, you may experience video lag depending on the Wi-Fi network.

Nosotros can make this project by applying two methods, which will be explained below.
Setting Raspberry Pi for camera
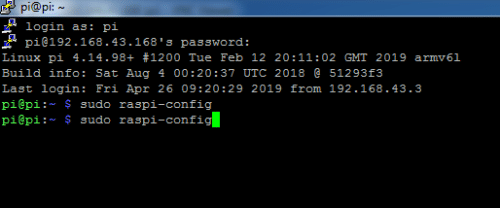
First, you lot have to set upwards the Raspberry Pi for camera interface. Open up the terminal and run this command "sudo raspi-config". And so you will get a bluish colour window with several options. Select the "Interfacing" option and enable the camera interface. (Refer Fig 2,3,4).


At present, your Raspberry Pi is set up for camera interface, pregnant you can commencement streaming camera video over Wi-Fi. You tin archive this using the following two methods.
Streaming Photographic camera Video using VLC player.
In the first method, we are going to stream the camera video using VLC role player. To do this, first open the terminal window and type the following control to install VLC on your Raspberry Pi.
"Sudo apt-become install vlc"
After the successful installation, y'all tin can stream your camera video using the following command
"raspivid -o – -t 0 -n | cvlc -vvv stream:///dev/stdin –sout '#rtp{sdp=rtsp://:8554/}' :demux=h264"
To obtain the output of the video streamed by the camera, connect your PC or phone to the aforementioned Wi-Fi network on which Raspberry Pi is connected. Side by side open the VCL actor, then go on stream menu and paste the url.
rtsp://ip accost of your pi:8554/
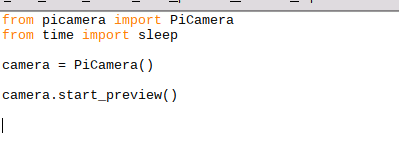
Now, open the text editor and put the following code in it

And salve it equally cam.py and whenever you desire to live stream a video, run this program.
Streaming Video Using Move
Open the terminal and run the post-obit control to install move "sudo apt-get install motion"
Then setup setting to run the camera server continuously on background
"sudo nano /etc/default/motion"
start_motion_daemon=yes
So brand some changes in motion config as described below (Refer Fig 5).
Run this command
"sudo nano /etc/motion/motion.conf"
Practice these changes co-ordinate to your demand
Stream_port=8081
Stream quality l # set up the quality according to your need
# Permit motion to run the daemon we've set earlier
daemon on
# set the framerate of the stream (100 for higher quality)
framerate 100
# set the width and top of your video
width 640
height 480
# control de port 8080 by default
webcontrol_port 8080
# careful! don't set the stream_port just similar the webcontrol port
When you lot done with the above setting, save and exit the config file using fundamental "CTRL + X". So hit the Y fundamental and and then press enter.
To start camera video streaming, open up the terminal and run this command
"sudo service motion start"
"Sudo motion"
At present, connect your PC and Raspberry Pi on the same network. After that open any web browser and type the following url
https:// ip accost of your raspberry pi:8081
Now you can get the camera video streaming on your web browser.

Cam video output either over HDMI or RCA composite
If you lot want to get video output similar other surveillance cameras on RCA composite or on HDMI without any video lag, so create the following python code and run that lawmaking to get Raspberry Pi camera video on your TV screen.
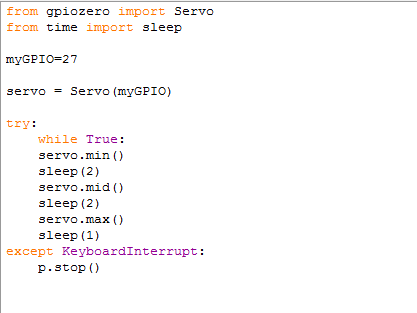
Giving movement to camera
Create a python programme equally in code snippet below and run the lawmaking for motility of servo motor.
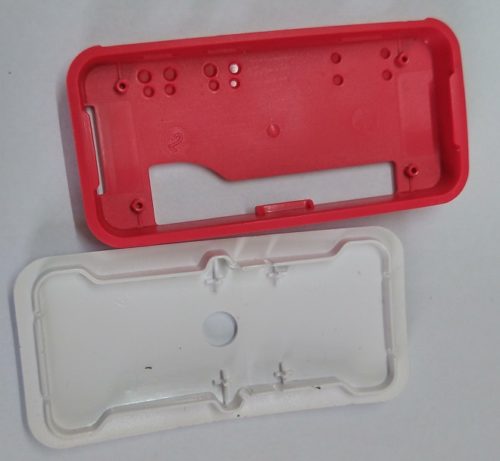
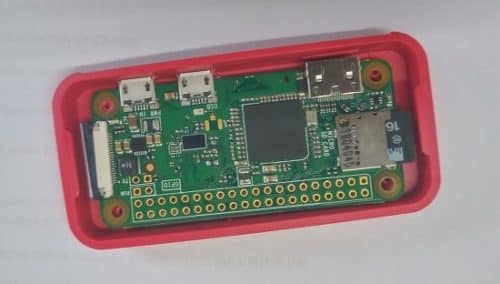
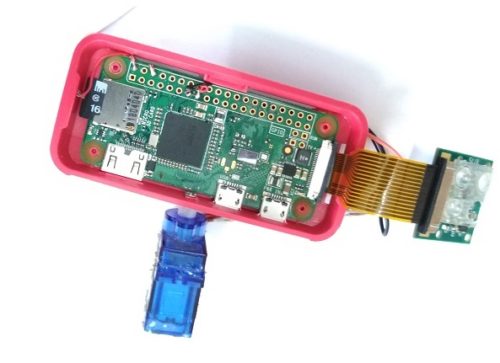
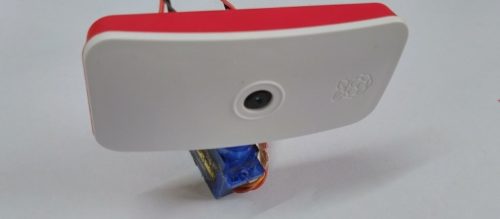
As yous have completed the setting and software office, it'due south time to put together the whole stuff in an enclosure.
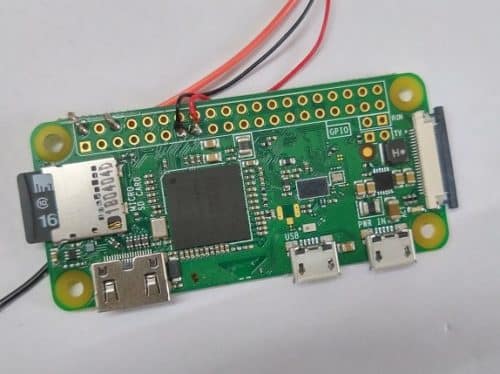
First connect the servo motor to Raspberry Pi pins equally illustrated below
Motor PWM indicate pin (Orangish color wire) to Raspberry Pi GPIO
Servo motor VCC to 5V power supply
GND to Ability supply GND
Raspberry Pi GND to Servo Motor GND
Now, put the Raspberry Pi in camera instance and fix everything according to the pics shown below –
Download source code: click here
Source: https://www.electronicsforu.com/electronics-projects/make-video-streaming-camera-with-raspberry-pi
Posted by: reyesfonse1937.blogspot.com
0 Response to "How To Add A Live Video Feed From Raspberry Pi Camera To Your Website"
Post a Comment